Sign in and create an account
/login
Apiome opens on the sign-in page. Single sign-on comes first: each identity provider your administrator has enabled has its own button, and the email form sits underneath.
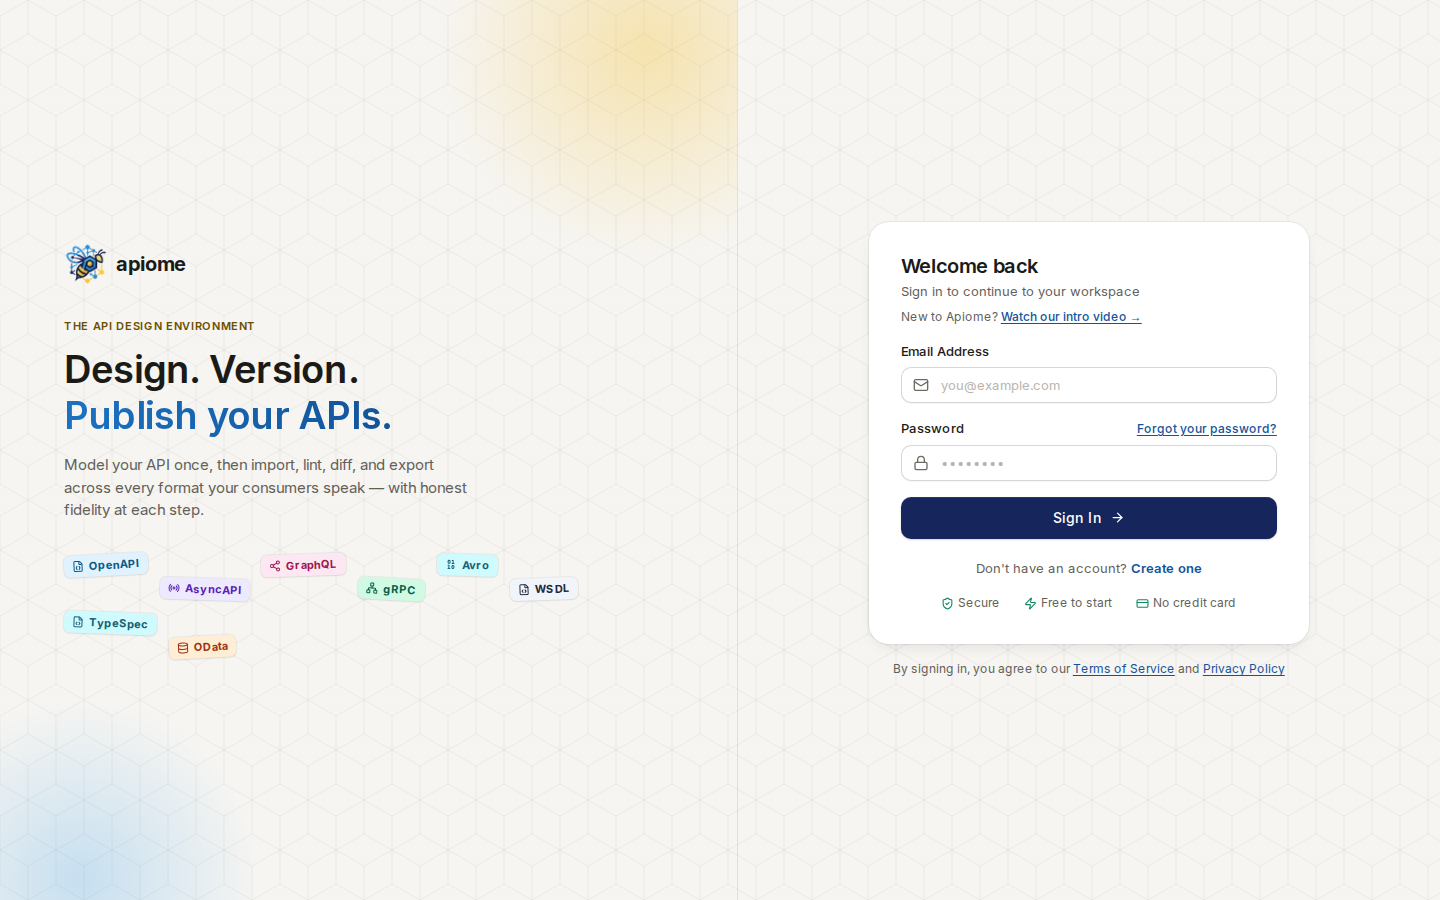
/loginSign in
-
Open Apiome in your browser. On the local stack that is the apiome-ui address you started (see Run Apiome locally).
-
Choose your provider — for example “Continue with GitHub” — and approve the request on the provider's page. You come back to Apiome signed in.
-
Or sign in with email: if the form is folded away, click “or use your email”. Fill in Email Address and Password, then click “Sign In”.
On the local stack, use
ada@example.comwith the passwordapiome-dev.
A wrong password shows “Incorrect email or password.” under the field — check both and try again.
Pass the two-factor check
If your account has two-factor authentication, Apiome asks for a code before it lets you in.
- With an authenticator app, enter the six-digit code from the app in Authentication code.
- With email, click “Send email code”, then enter the code from your inbox in Email code. The Authenticator and Email code tabs switch between the two when both are set up.
- Click “Verify and continue”.
“Back to sign in” returns to the first page without signing you in.
Create an account
With a provider. Click your provider's button on the sign-in page. The first time, Apiome asks you to finish setting up your account:
- Enter Your name, Organization name and Organization URL slug — the slug is suggested from the name.
- Click “Create account”. Your organization is created on the Free plan and you land on the launcher.
With email. Under the form, click “Create one”, then fill in Full Name, Email Address and Password and click “Create Account”. This sends a sign-up request; the page says what happens next. Once you can sign in, Apiome takes you through first-tenant onboarding if you are not part of an organization yet.