Set up your first organization
When you sign in and do not belong to any organization (a tenant) yet, Apiome shows a short setup instead of the app. Progress is saved as you go, so you can leave and come back.
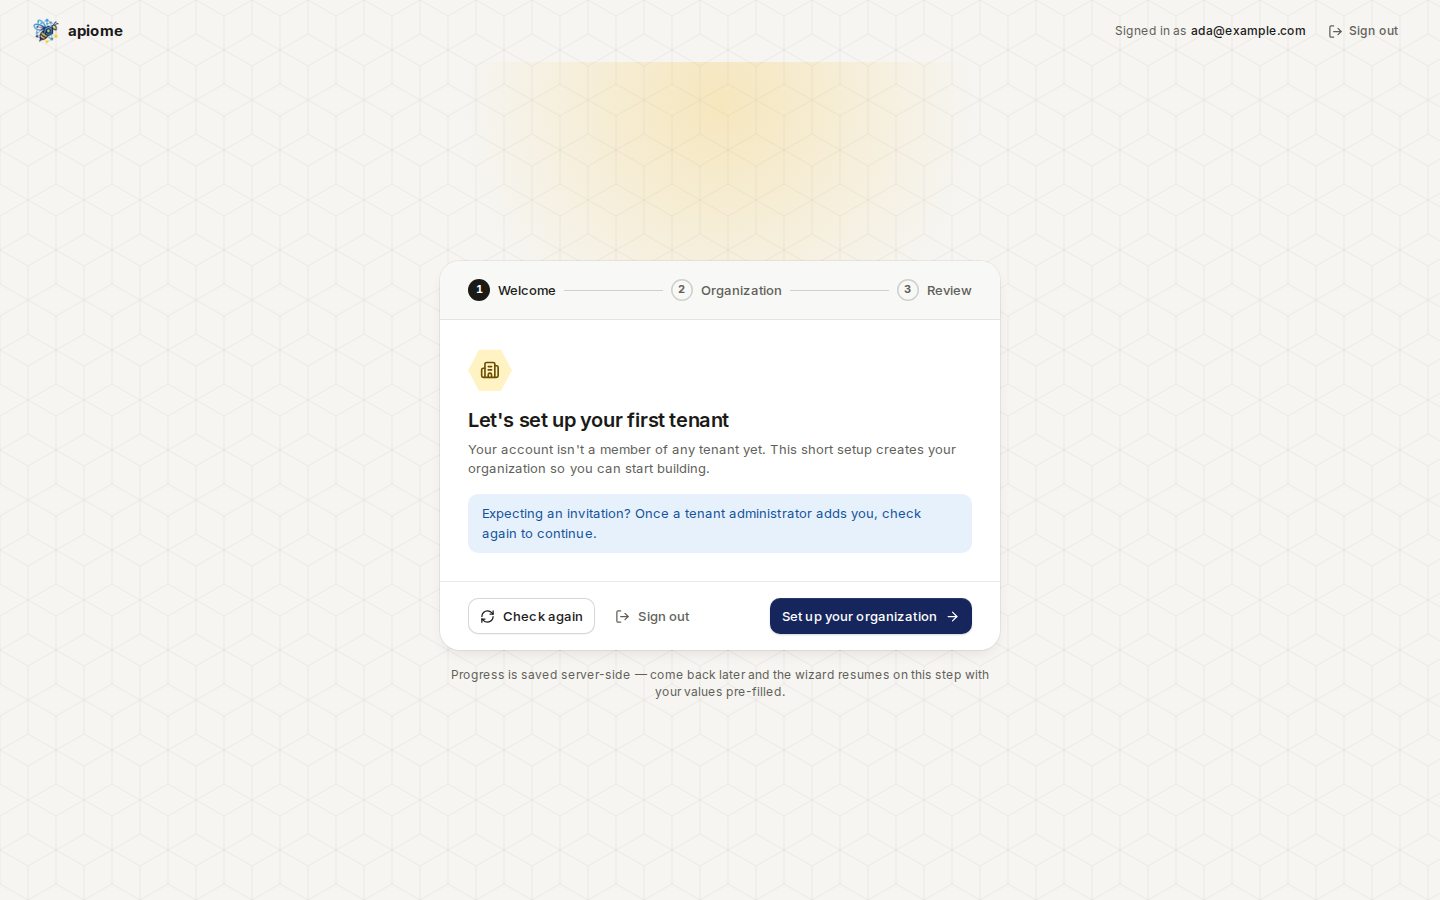
/onboarding- Welcome. If a teammate is about to invite you, wait for the invitation and click “Check again” — you go straight in once you are added. Otherwise click “Set up your organization”.
- Organization. Enter an Organization name (for example
Acme, Inc.). The URL slug is suggested from it (acme-inc); use lowercase letters, numbers and dashes. Click “Continue”. - Review. Check the name and slug. The Free plan card lists what you get: one tenant, one project and three versions per project, plus a sample project so your workspace is not empty. Click “Create organization”.
- Done. You are the organization's administrator. Click “Go to your dashboard” to open the launcher.
You can change the name and slug later in the tenant's settings.