Licenses
/admin/dashboard/licenses
A license is a plan: a type (free, paid or sponsor), a set of seat limits such as how many tenants a person may own, and the feature flags it switches on. Every person holds at most one. Sign in to the admin console and choose Licenses in the sidebar.
The screen has four tabs — Licenses, Feature Flags, Flag packages and Assignments — each with its count. Feature flags and flag packages are covered on Feature flags.
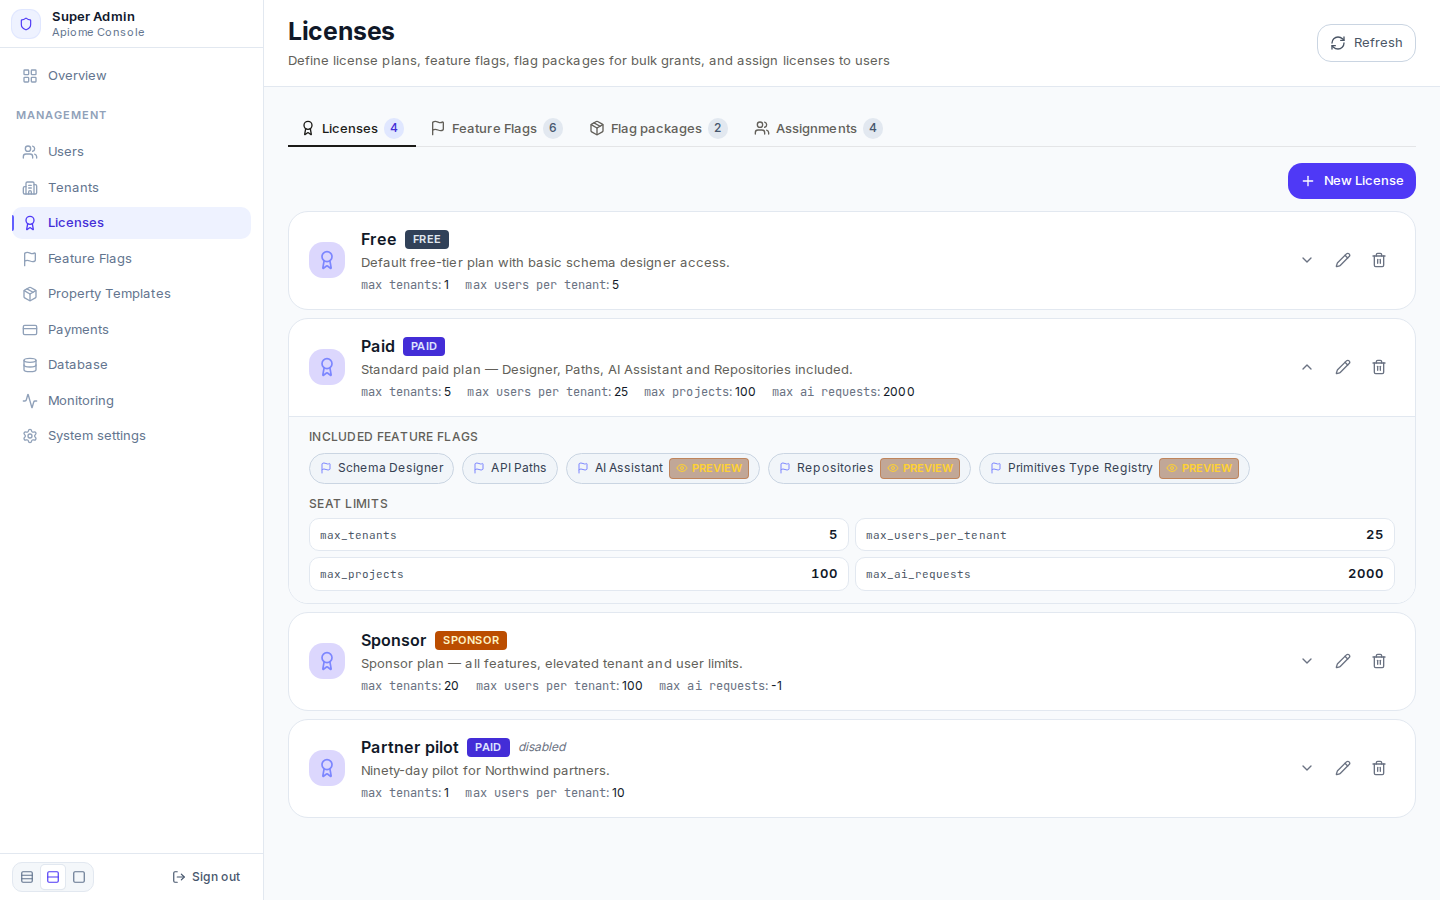
/admin/dashboard/licensesThe plans a new installation has
| Plan | Type | Seat limits | Feature flags |
|---|---|---|---|
| Free | free | max_tenants 1, max_users_per_tenant 5 | Schema Designer |
| Paid | paid | max_tenants 5, max_users_per_tenant 25 | Schema Designer, API Paths, AI Assistant, Repositories, Primitives Type Registry |
| Sponsor | sponsor | max_tenants 20, max_users_per_tenant 100 | the same as Paid |
Each row shows the plan's name, type badge, description and seat limits; disabled marks a plan that cannot be assigned. Click the chevron to list its Included Feature Flags and Seat limits.
Seat limits
Seat limits are numeric key–value pairs stored on the plan. The form offers these presets, and accepts any custom key:
| Key | Limits |
|---|---|
max_tenants | Tenant workspaces a person may own — checked when they create a workspace |
max_users_per_tenant | Members of a tenant on this plan — checked when someone is invited or a suspended member is reinstated; pending invitations hold a seat, suspended members do not |
max_projects | Catalog projects |
max_versions | Versions per project |
max_ai_requests | AI assistant requests; 0 is none and -1 unlimited |
A negative value means unlimited. A key a plan leaves out falls back to Apiome's built-in default.
Operators can switch member-seat enforcement off without a redeploy by setting
APIOME_LICENSE_ENFORCEMENT_ENABLED=false on the REST API; the tenant cap is always enforced.
Create or edit a plan
- Click “New License” (or a plan's pencil).
- Enter a Name and choose the Type — Free, Paid or Sponsor.
- Add a Description.
- Under Seat limits (quotas), click “Add limit”, pick a key from Select a limit… (or
Custom key…, for example
max_branches) and enter a whole number. The trash icon removes a row. Each key may appear once. - Under Commercial products & features, tick the flags the plan turns on — Commercial applications (the apps shown on the home page and in the top navigation) and Additional platform features.
- Click “Create License” (or “Save Changes”).
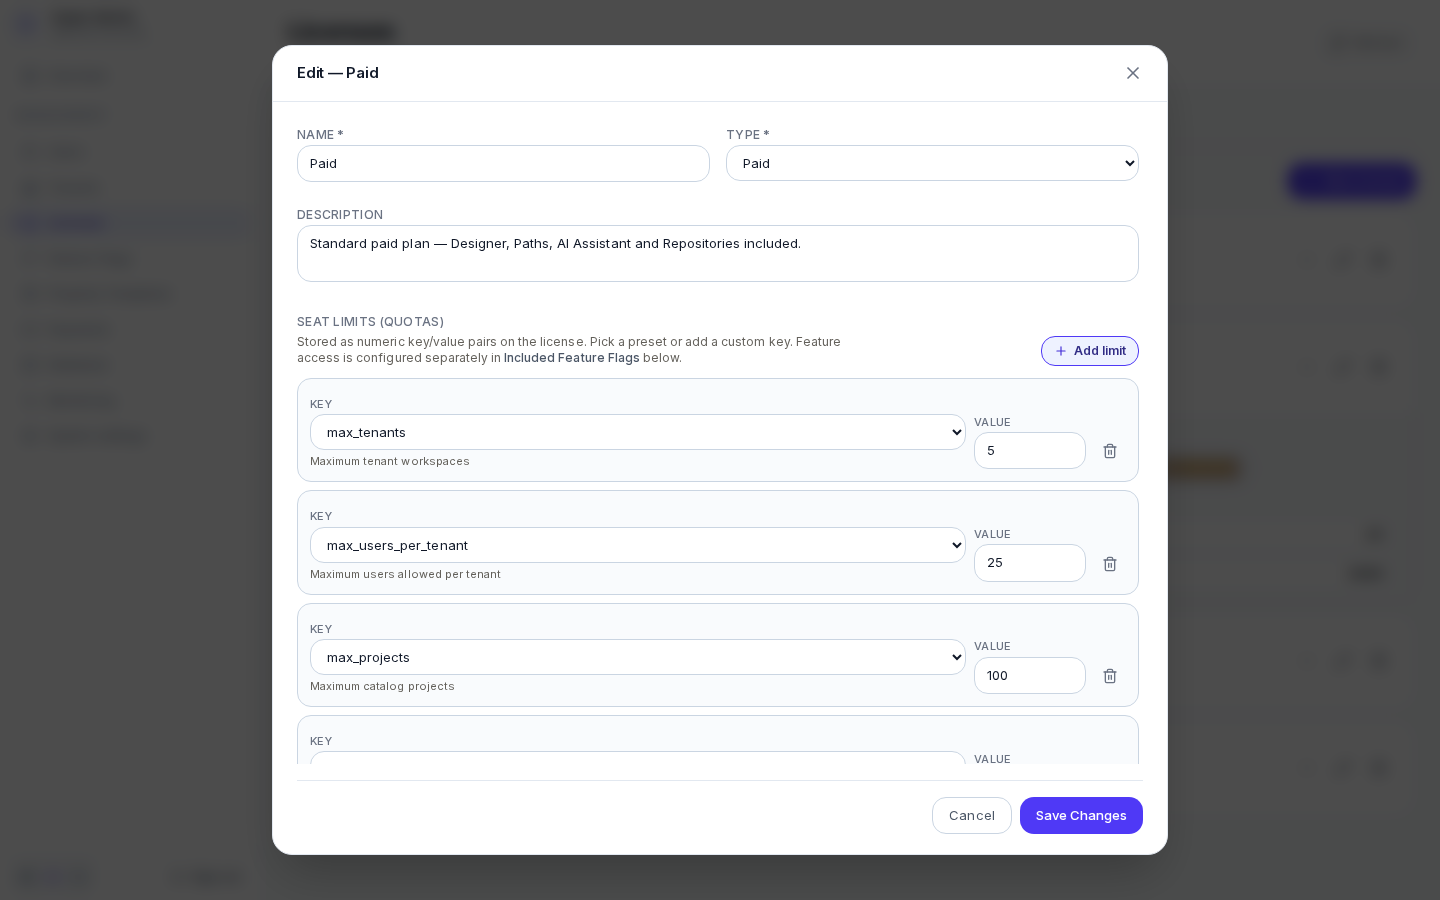
/admin/dashboard/licensesDeleting a plan (the trash icon) asks you to confirm. People who held it lose the features it granted the next time they load the app.
Assign a plan to a person
- Open the Assignments tab. Every account is listed with its Assigned License and Seats; Search users… narrows the list.
- Click “Assign” on a person's row.
- Click a plan in Assign license — only enabled plans are offered, and a tick marks the current one.
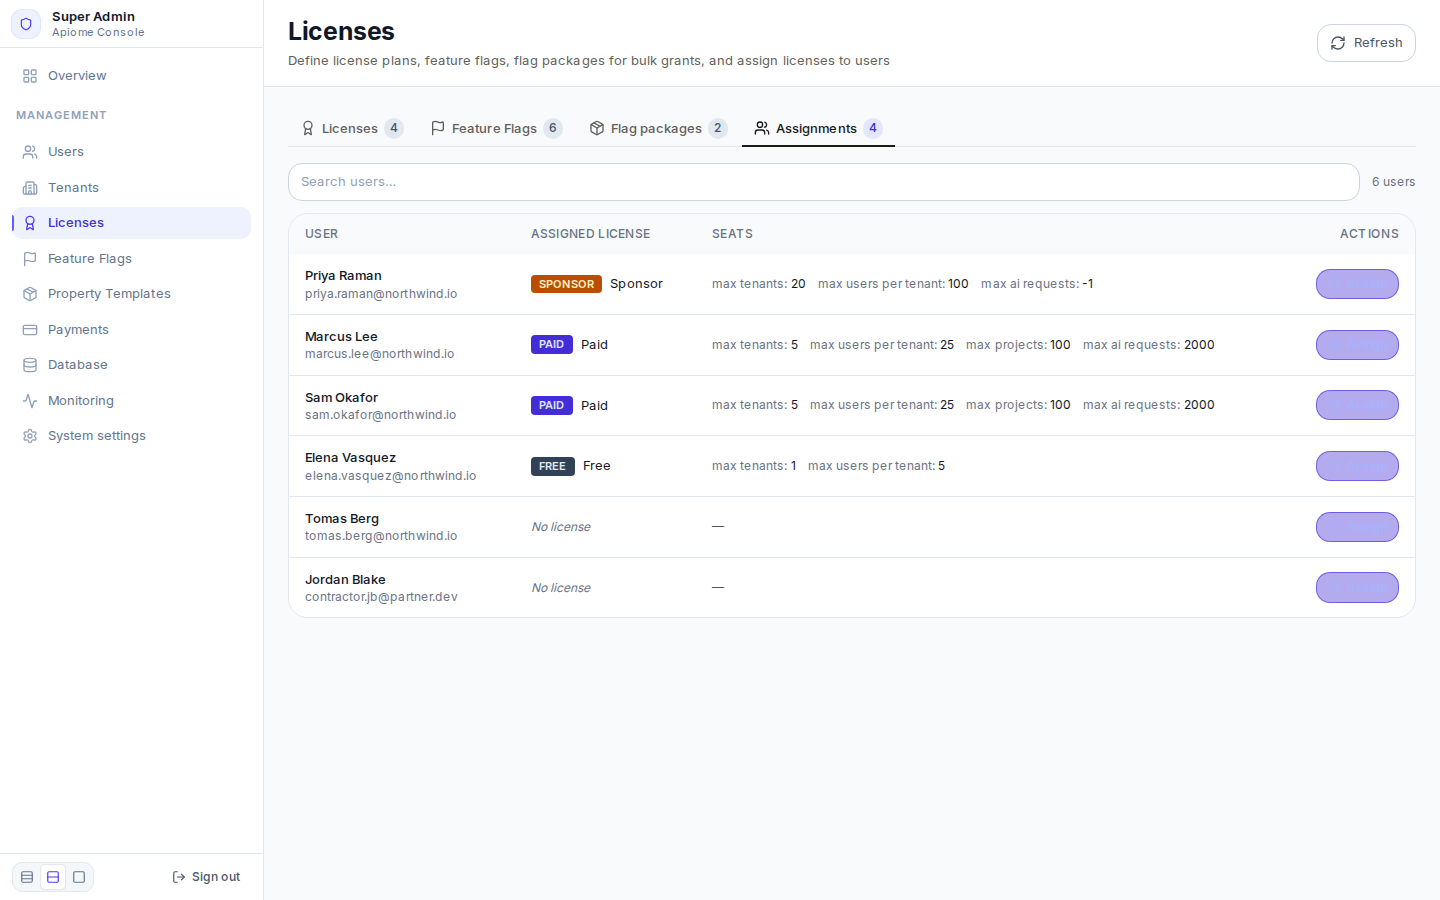
/admin/dashboard/licensesThe same dialog has Override feature flags…, to grant flags to one person on top of their plan (see Feature flags), and Remove license, which drops them to the unlicensed feature set the next time they load the app.
A workspace's own plan and seat use are shown to its administrators under License & plan in Tenants & the manage drawer.
With the API
Plans are edited only here. Workspace members read their tenant's plan, seat use and effective
features with GET /v1/tenants/{tenant_slug}/license — see the
API reference. An invitation refused for lack of seats answers
403 with the code license-seats-exhausted.
Where next
- Feature flags
- Tenants in the admin console
- Members & seats — seats from the workspace side